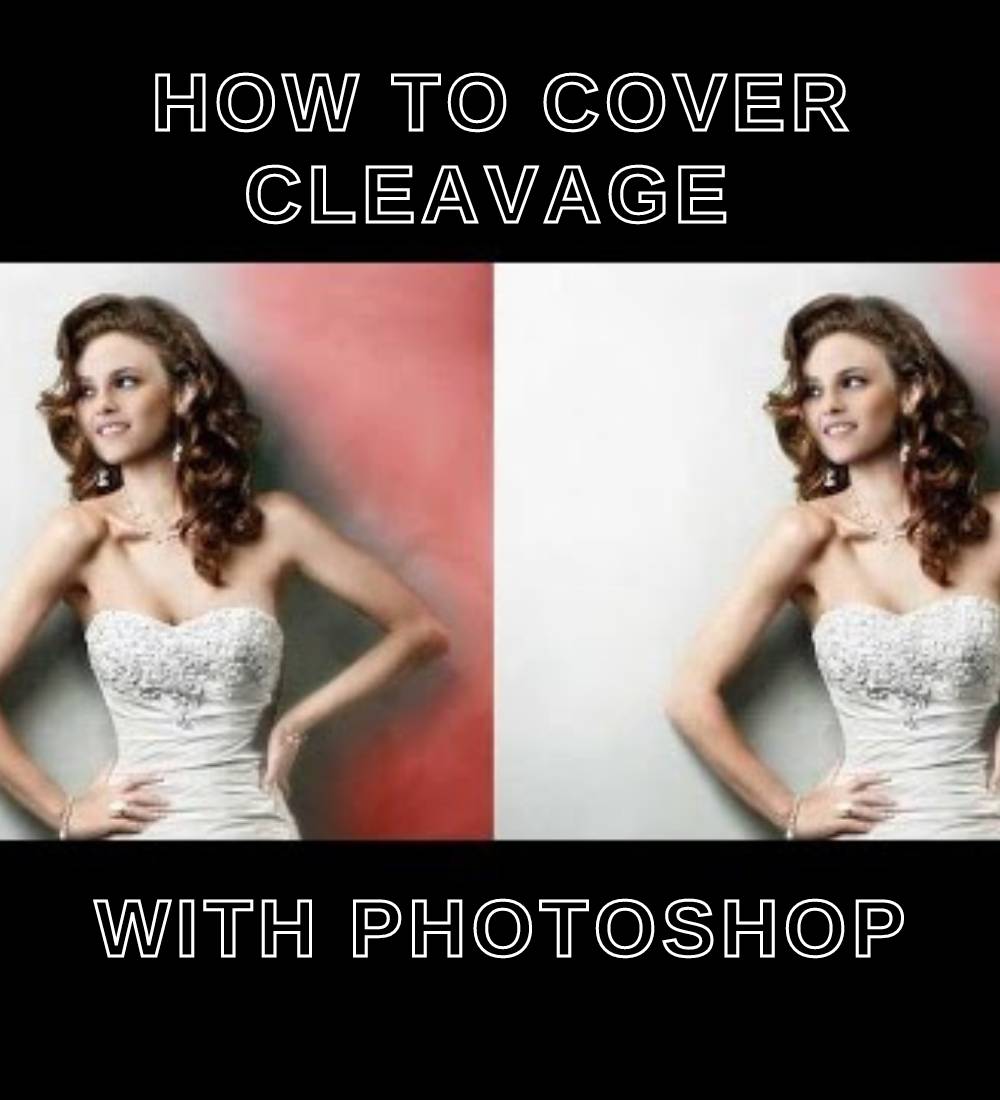
Many people don’t know how to take a photo that covers their cleavage. Maybe they don’t know how to use Photoshop or they don’t have Photoshop installed on their computer. In this article, I’ll show you how to cover cleavage in a picture with Photoshop. You can use this technique for any photo you want to take and it will look great!

1. What is cleavage?
The ceiling is a word that is often used to describe the top part of the breast that is visible when a woman is wearing a low-cut dress or shirt.
2. How to cover cleavage with Photoshop
When you’re taking pictures of yourself, it’s important to make sure that your chest is covered up. There are several ways to do this, but they all involve using photo editing software such as Photoshop. Here are the steps to follow: -Start by using the “sharpen” filter to remove any blurriness. -Using the “burn” filter, darken the shadows in the photo. -Next, use a layer mask to erase the part of the photo that you don’t want to appear in the final image. -Finally, use the “distort” filter to make the photo look more like a painting.
3. Can anyone photoshop a fake black shirt to remove cleavage?
Yes, you can use Photoshop to cover up the cleavage with a fake black shirt. First, you will need to open Photoshop. Then, you will need to open the layer window. You will need to select the layer and then select the “color” tool. You will then need to change the color to black. You will need to make sure that “contrast” is set to 100. The last thing you will need to do is to set the layer to “normal” and then select “edit”. You will then need to select “Add layer mask” and then select “White” to reveal the cleavage.
4. How to remove cleavage from a picture in Photoshop?
There are a few different ways that you can remove cleavage from a picture in Photoshop.
One way is to use the Clone Stamp tool. With the Clone Stamp tool, you can select an area of the image that you want to use as a replacement for the cleavage. Then, you can simply paint over the cleavage with the Clone Stamp tool and the selected area will be copied over.
Another way to remove cleavage from a picture in Photoshop is to use the Healing Brush tool. With the Healing Brush tool, you can select an area of the image that you want to use as a replacement for the cleavage. Then, you can simply paint over the cleavage with the Healing Brush tool and the selected area will be copied over.
Finally, you can also use the Eraser tool to remove cleavage from a picture in Photoshop. With the Eraser tool, you can simply erase the cleavage from the image.
Whichever method you choose; you can easily remove cleavage from a picture in Photoshop.
5. Conclusion.
There are many ways to cover cleavage in a picture. For example, you can use a layer mask to cover the cleavage in a photo with a solid color or add a layer of texture to cover the cleavage. Another way to cover cleavage is to use a layer mask to cover the cleavage with a pattern.