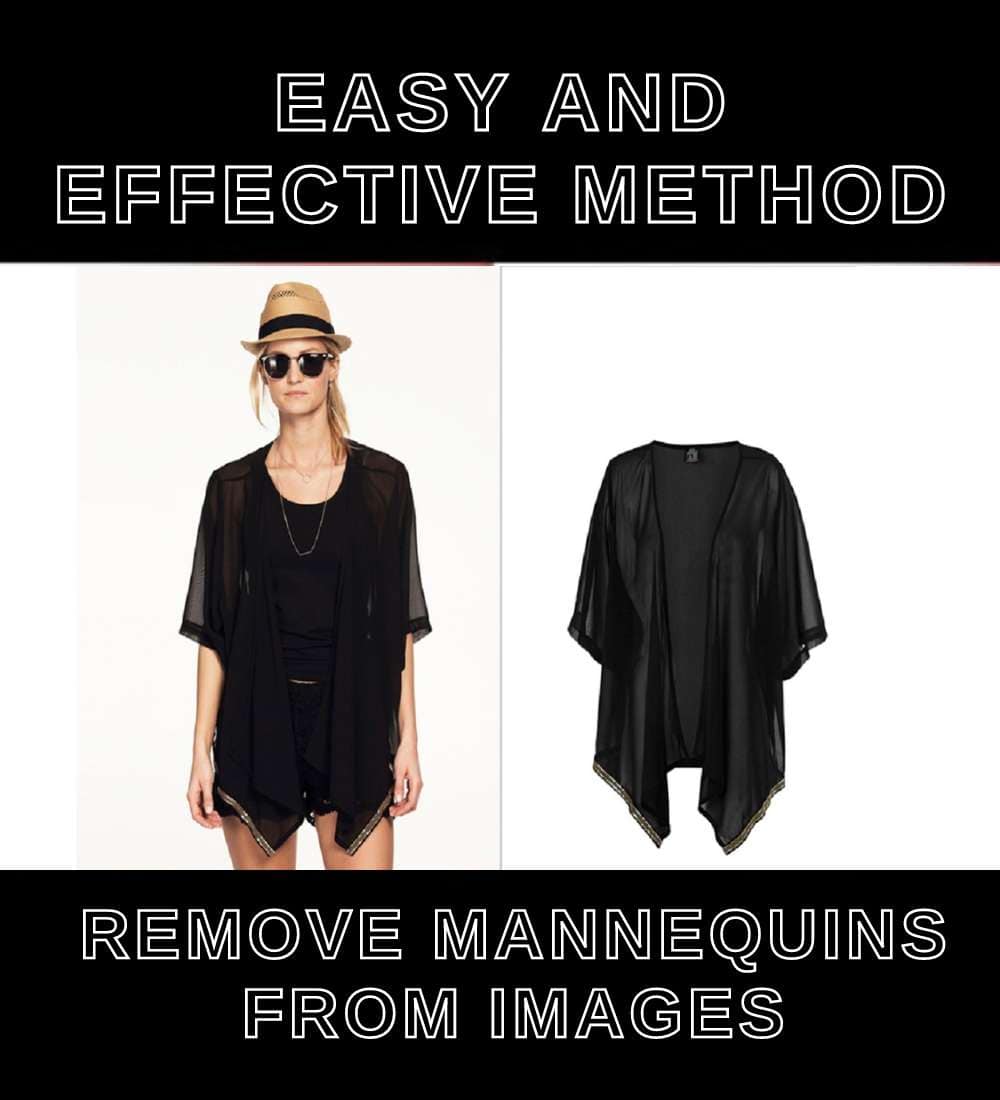
Have you ever come across a stunning image, only to be disappointed by the presence of a mannequin in the shot? Mannequins are often ubiquitous in the realm of fashion and product photography, but their fleshless, expressionless presence can detract from an otherwise beautiful photograph. Fortunately, removing mannequins from images is not a painful or arduous task. In fact, there is an easy and effective method to do so. In this post, we will explore a straightforward yet powerful tool that will help you rid your images of the unwanted mannequin presence. Are you excited to learn more? Keep reading to discover our top tips!
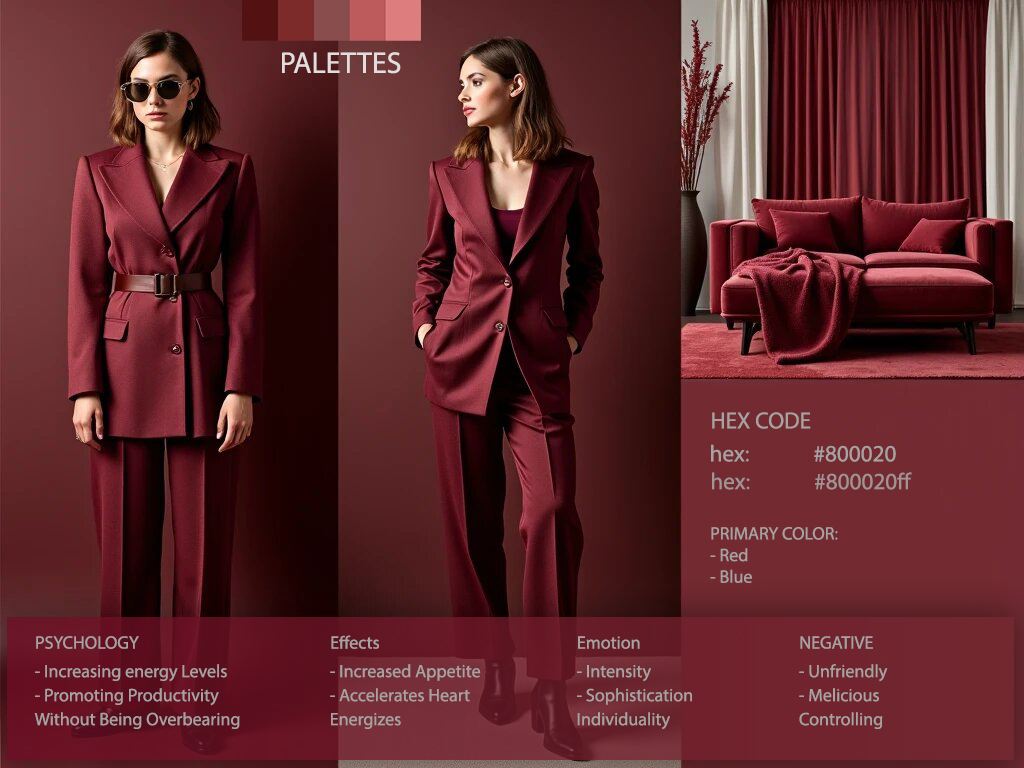
A brief explanation of mannequin removal, why it’s important, and what the article will cover
Mannequin removal is a common task in the world of photo editing, especially for e-commerce businesses. It involves removing mannequins or dress forms from images to create a more natural and appealing look. This process is important as it helps to showcase the clothing items or products without any distractions. In this article, we will explore an easy and effective method to remove mannequins from images. We will cover topics such as choosing the right software, selecting appropriate images, backing up original files, selection tools, cloning and healing brushes, color correction and blending tools, layering techniques, and more. Whether you are a beginner or an experienced photo editor, you will find practical tips and techniques to achieve seamless mannequin removal.
Preparing for MannequinRemoval
Choosing the right software
Choosing the right software to remove mannequins from images is crucial for achieving the desired results. There are several options available, but one of the most popular and widely used software is Adobe Photoshop. Photoshop provides an array of advanced tools and features that make the mannequin removal process easier and more efficient. With its selection tools, cloning and healing brushes, color correction and blending tools, as well as layering capabilities, Photoshop allows you to seamlessly edit and manipulate images to achieve a flawless and natural look. It is important to choose software that suits your needs and offers the required functionalities for effective mannequin removal.
Selecting the appropriate images
When it comes to removing mannequins from images, selecting the appropriate images is crucial for achieving the desired effect. You want to choose images where the product is clearly visible and well-lit, preferably shot on a symmetrical mannequin or model with their arms down. It’s also important to use a plain, neutral background for consistency. By following these guidelines, you’ll have a solid foundation to work with when using software like Photoshop to remove mannequins and create the ghost mannequin effect.
Backing up originalfiles
Backing up your original image files is an essential step in the process of removing mannequins from your images. By creating a backup copy of your original files, you can ensure that you have a safe and secure version to work from. This is especially important in case any mistakes or accidents occur during the editing process. By backing up your files, you can easily revert back to the original image if needed, allowing you to start over or make adjustments as necessary. It’s always better to be safe than sorry, so make sure to back up your files before getting started.
Removing the Mannequin Using Photoshop
Selection tools
Selection tools in Photoshop are essential for removing the mannequin from images. With tools like the Quick Selection tool and the Magic Wand tool, you can easily select the areas you want to remove. These tools allow you to refine your selection and ensure a clean and accurate result. By mastering the use of selection tools, you can effectively remove the mannequin and create a seamless image that looks natural and professional.
Cloning and healing brushes
One of the essential tools in the process of removing mannequins from images is cloning and healing brushes. These brushes help seamlessly blend and correct any imperfections in the photo. By using the Clone Stamp tool, you can easily clone over the areas where the mannequin is present, creating a smooth and natural background. The Healing Brush tool, on the other hand, can remove blemishes and other imperfections, ensuring that the final image appears flawless. With the help of these brushes, you can achieve a professional and polished look in your photos.
Color correction and blending tools
Color correction and blending tools are essential for achieving a seamless and professional ghost mannequin effect. These tools allow you to adjust the colors of your images, ensuring that the garment looks true to life and appealing to customers. By blending different images together, you can create a cohesive and realistic final result. With the help of color correction and blending tools in software like Photoshop, you can enhance the overall quality of your product photos and showcase your garments in the best possible way.
Removing the Mannequin Using GIMP
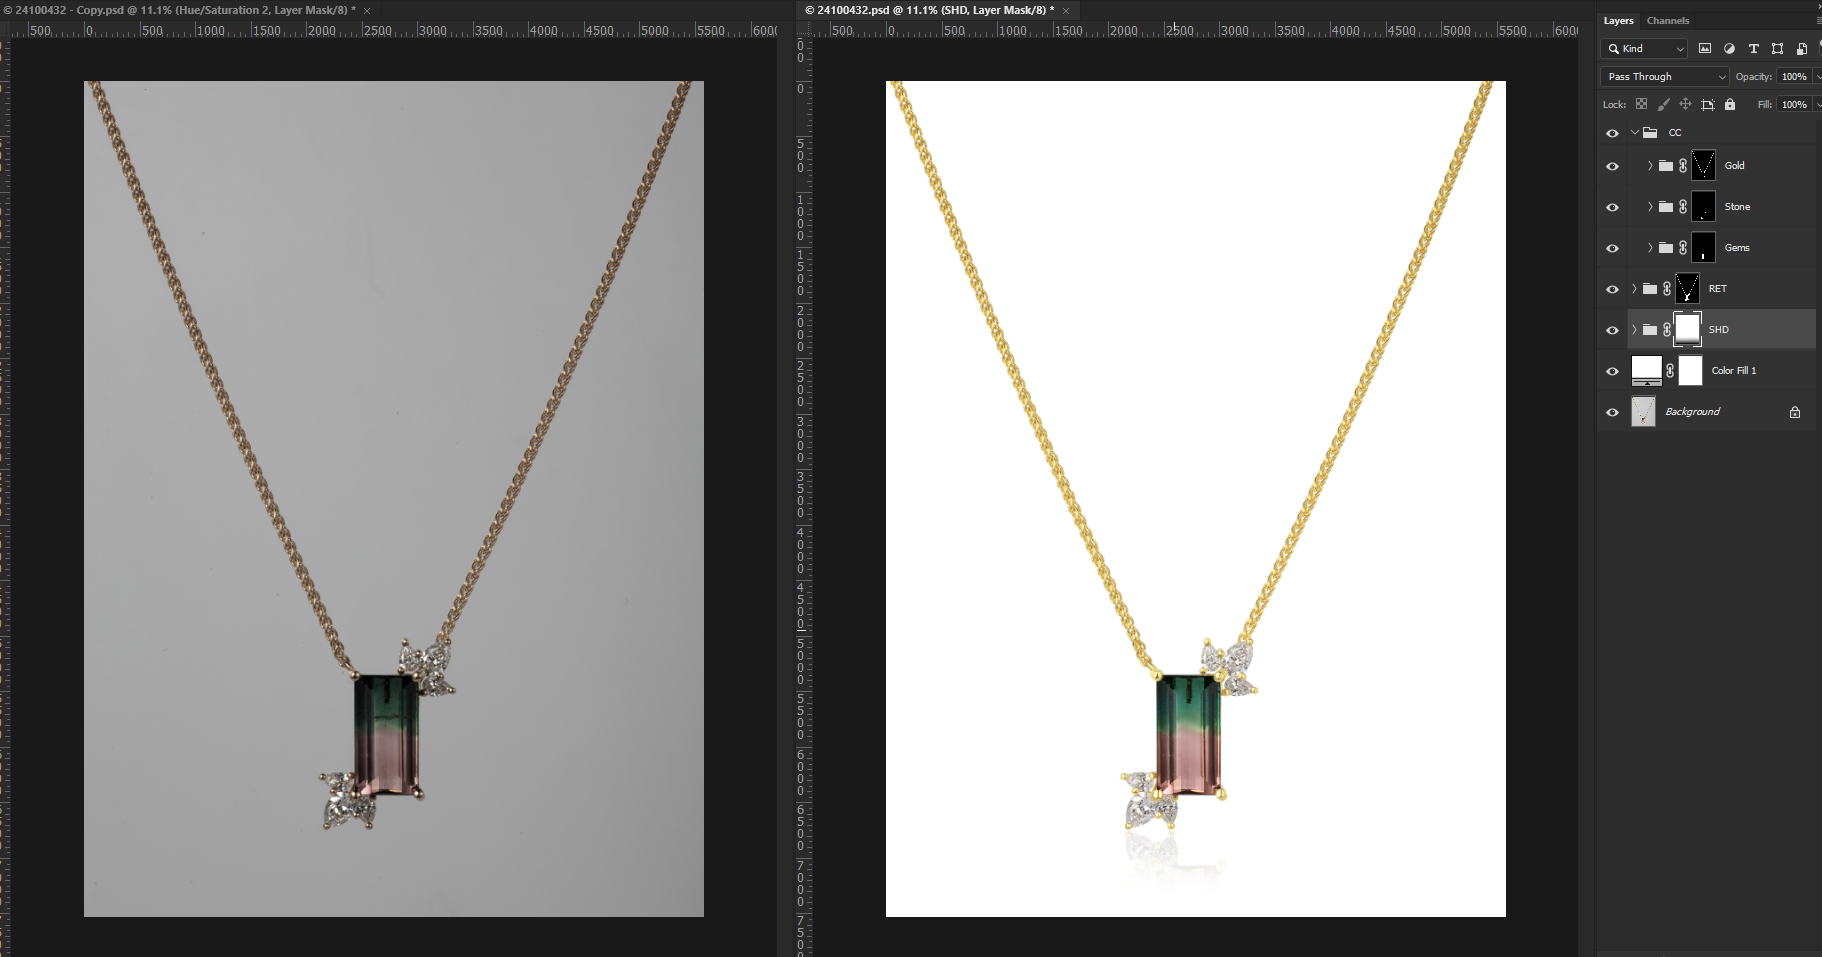
Layering tools
Layering tools are essential for achieving a seamless and professional look when removing mannequins from images. By using layer masks, you can easily blend the background and the garment together, creating a natural appearance. Layering tools also allow you to make precise adjustments to lighting, shadows, and color correction. With these tools, you have full control over the editing process, ensuring that the final result is visually appealing and realistic. Don’t underestimate the power of layering tools – they can truly elevate your mannequin removal process.
Clone and heal tools
The Clone and Heal tools are essential when it comes to removing mannequins from images. The Clone Stamp tool is used to clone over any areas where the mannequin’s body is visible, while the Healing Brush tool is used to clean up rough edges and smoothen the image. These tools work by sampling pixels from one area and applying them to another, creating a seamless blend. With a little practice and precision, these tools can help you achieve a natural-looking result in your image editing process.
Color correction
Color correction plays a crucial role in removing mannequins from images and creating a seamless and realistic effect. By adjusting the colors and tones in the image, you can ensure that the product remains the main focus, without any distractions. Color correction tools in software like Photoshop allow you to match the colors of different image layers and create a cohesive look. This step is essential to achieve professional and high-quality results in ghost mannequin photography. With the right color correction techniques, you can enhance the overall appearance of your images and make them more visually appealing to your audience.
Advanced Techniques for Mannequin Removal
Masking and blending multiple images
Masking and blending multiple images is a crucial step in the process of removing mannequins from images. By combining different photographs of the product on a mannequin or model, the invisible mannequin effect can be achieved. This technique allows for the removal of the mannequin while maintaining the lifelike appearance of the product. By carefully masking and blending the images together, the final result is a seamless and professional-looking image that showcases the product in the best possible way.
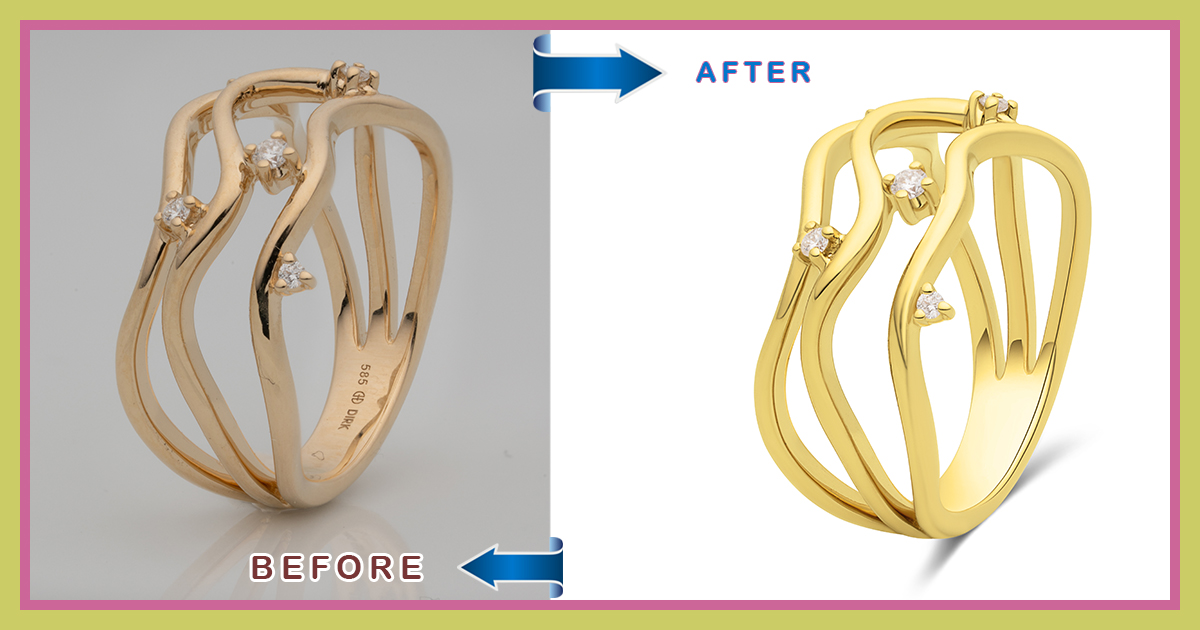
Utilizing background replacement for better results
Utilizing background replacement is a great way to enhance the results of mannequin removal in product images. By replacing the original background with a more visually appealing one, you can create a clean and professional look that attracts customers. Whether it’s a solid color backdrop or a lifestyle setting, choosing the right background can make a significant difference in how your products are perceived. With the help of photo editing software or outsourcing background removal services, you can easily achieve the desired effect and improve the overall quality of your images.
Outsourcing mannequin removal services
Outsourcing mannequin removal services can be a smart move for businesses and photographers looking to save time and money while still achieving professional, flawless results. By partnering with a reputable service provider, you can ensure that your apparel images are enhanced and edited to perfection, without the hassle and expense of purchasing editing tools or hiring an in-house photo editor. This allows you to focus on your core business activities while still attracting more customers and boosting your sales. Outsourcing mannequin removal services truly offers a convenient and efficient solution for showcasing your products in the best possible light.
Recap of the article’s main points
In summary, this article provided an easy and effective method to remove mannequins from images. It covered various aspects, such as choosing the right software, selecting appropriate images, backing up original files, using selection tools, cloning and healing brushes, color correction and blending tools, layering tools, masking and blending multiple images, utilizing background replacement, and outsourcing mannequin removal services. The article also discussed future considerations and best practices for mannequin removal. Whether you’re a beginner or an experienced photographer, this article provides valuable insights and practical tips to help you achieve professional-looking images without mannequins.
Future Considerations and best practices for mannequin removal

In the future, it is important for photographers and studios to take into consideration best practices for mannequin removal. This includes capturing additional shots where tricky garments are hanging in the air, making them easily detectable and removable. Using the right selection tools, such as the pen tool, can also help in efficiently isolating the mannequin. It is also crucial to pay attention to details, such as removing dark streaks and maintaining the quality of the image. By following these practices, mannequin removal can be done easily and effectively, resulting in high-quality product images.