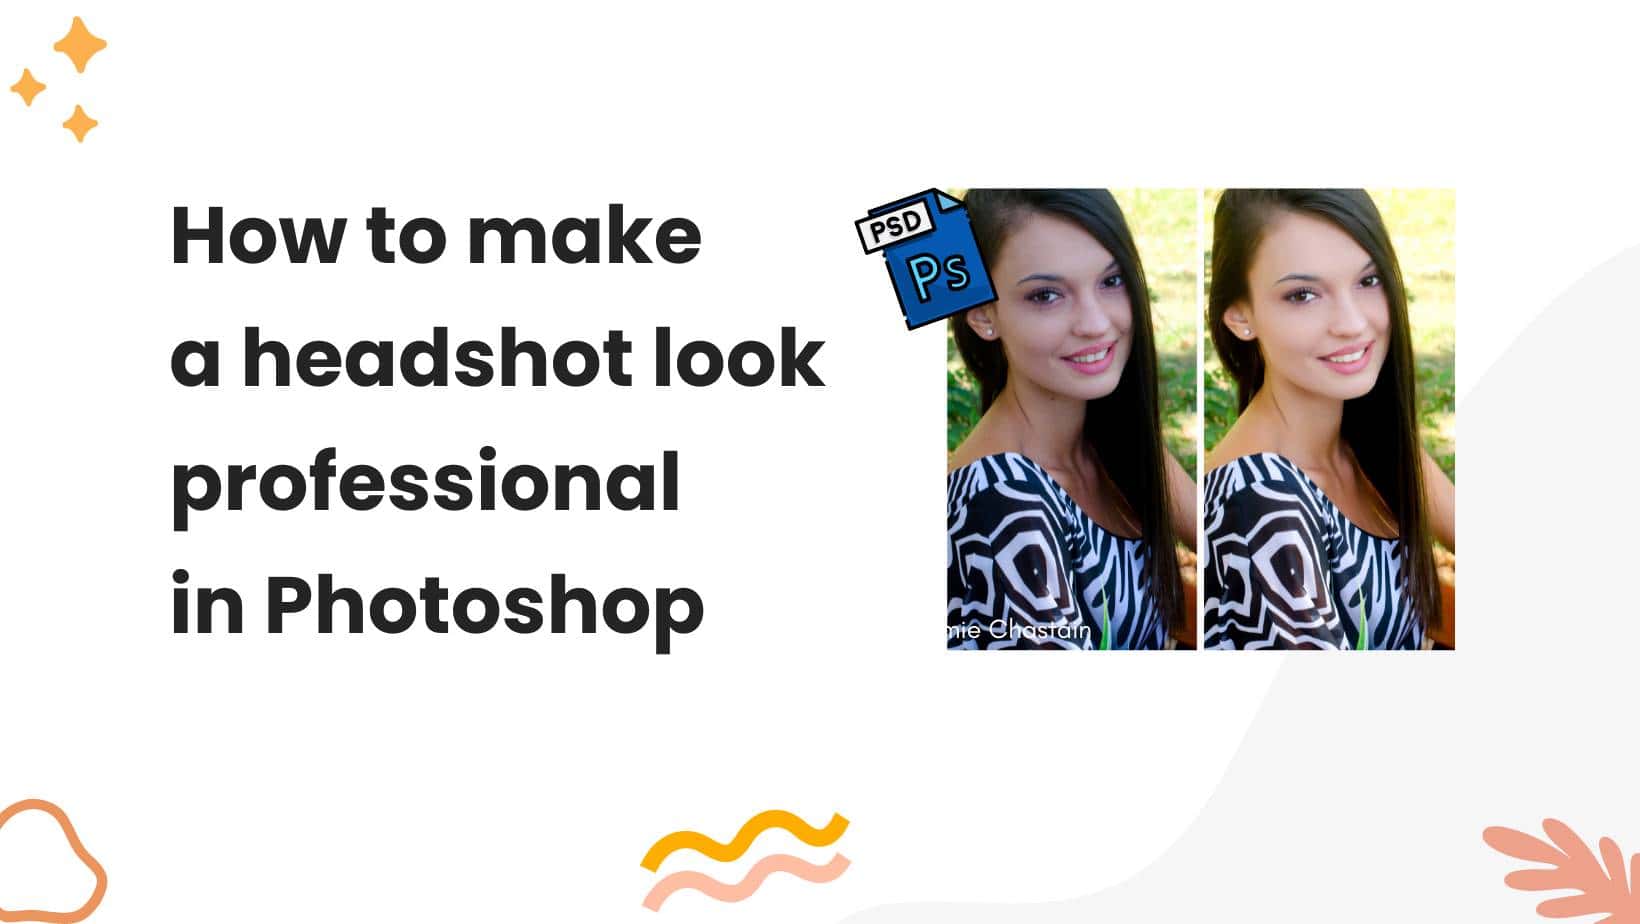
How to make a headshot look professional in Photoshop, use retouching techniques like removing blemishes and adjusting the lighting. Give the subject a clean and polished appearance by enhancing details and adding depth with shadows and highlights.

In this modern digital era, having a professional headshot is essential for various purposes, such as job applications, social media profiles, or professional portfolios. A polished headshot can make a lasting impression, conveying professionalism and competence. While hiring a professional photographer is the ideal option, you can also achieve a professional look through post-production editing using software like adobe photoshop.
We will explore various techniques and tips to make your headshot look professional in photoshop, ensuring that you present the best version of yourself to the world. By employing retouching techniques and enhancing details such as lighting, shadows, and highlights, your headshot will exude professionalism and leave a positive impact on viewers.
Why Should You Transform Your Headshot?
Your headshot is often the first impression potential clients, employers, or business partners will have of you. It can play a crucial role in establishing your credibility, making you stand out from competitors, and creating a positive initial impression. Transforming your headshot using photoshop can enhance its professional appeal and improve your overall image.
Here are the key reasons why you should consider investing in a professional-looking headshot:
- Increase credibility and professionalism:
- A well-edited headshot exudes professionalism and sends a signal that you take your work seriously.
- It helps establish trust and credibility, giving others confidence in your abilities.
- A polished headshot can convey a sense of reliability and expertise, which can be influential in various professional settings.
- Stand out from competitors:
- In a competitive market, a professionally edited headshot can make you stand out from the crowd.
- By presenting yourself in the best light, you demonstrate that you value attention to detail and strive for excellence.
- A standout headshot can capture attention and create a lasting impression, helping you establish yourself as a unique individual in your field.
- Make a positive first impression:
- First impressions matter, and your headshot often serves as the initial introduction to who you are.
- A professionally edited headshot can leave a positive and lasting impact on viewers.
- It can convey your personality, approachability, and professionalism, which can greatly influence how others perceive you.
By transforming your headshot with the help of photoshop, you have the power to elevate your image, increase credibility, stand out from competitors, and make a positive first impression. Investing the time and effort into creating a professional-looking headshot can yield significant dividends in your personal and professional endeavors.
Getting Started With Photoshop
Understanding The Photoshop Interface
When it comes to editing headshots in photoshop, understanding the interface is the first step towards creating professional-looking results. Here are the key points to keep in mind:
- Familiarize yourself with the different panels and tools within photoshop. The main panels include the layers panel, which allows you to organize and edit different elements of your image, and the adjustments panel, which provides options for making various adjustments to the photo.
- Take advantage of keyboard shortcuts to improve your workflow. Photoshop offers a wide range of shortcuts that can save you time and effort in performing common tasks. For example, pressing “ctrl + j” allows you to duplicate a selected layer quickly.
- Customize your workspace to suit your needs. Photoshop offers the flexibility to arrange and customize panels according to your preferences. Experiment with different layouts and save your preferred workspace for easy accessibility in the future.
Opening And Importing Your Headshot Image
Once you’ve familiarized yourself with the photoshop interface, the next step is to open and import your headshot image. Here’s how to do it:
- Open photoshop and go to the “file” menu at the top. Select “open” to browse and locate your headshot image on your computer. Alternatively, you can drag and drop the image directly into the photoshop workspace.
- Ensure that your headshot image is in a suitable format, such as jpeg or png, for easy editing in photoshop. If needed, convert the image to the appropriate format using a separate image editing software before opening it in photoshop.
- Consider creating a duplicate layer of your headshot image to preserve the original and work non-destructively. To do this, right-click on the background layer in the layers panel and select “duplicate layer.”
Making Necessary Adjustments To The Image
Now that you have your headshot image open and ready, it’s time to make the necessary adjustments to enhance its professional look. Here are the key adjustments to consider:
- Use the crop tool to remove any unnecessary elements from the image and improve composition. Adjust the crop dimensions and aspect ratio according to your desired final result.
- Utilize the healing brush tool to remove blemishes and imperfections from the subject’s skin. Carefully select areas that require retouching and use this tool to seamlessly blend and remove any unwanted marks or spots.
- Experiment with different adjustment layers, such as brightness/contrast, levels, and curves, to fine-tune the exposure and tonal balance of your headshot. These adjustment layers allow you to make non-destructive edits and refine your image without permanently altering the original.
Remember, creating a professional-looking headshot in photoshop requires practice and experimentation. Don’t be afraid to try different tools and techniques to achieve the desired result.
Enhancing Facial Features
When it comes to making a headshot look professional in photoshop, one of the key aspects is enhancing facial features. By using various techniques, you can bring out the best in a person’s face and create a polished and appealing headshot.
Below are some tips on how to enhance facial features effectively:
Smoothing Skin Imperfections
- Start by creating a duplicate layer of the image and name it “skin smoothing.”
- Use the spot healing brush tool to remove any blemishes, acne, or skin imperfections gently.
- Fine-tune the skin tone by using the healing brush tool and sampling nearby areas to blend in the corrections seamlessly.
- Reduce any wrinkles or fine lines by using the clone stamp tool to clone adjacent areas with smoother skin texture.
- Apply a subtle amount of Gaussian blur to the duplicate layer, but be cautious not to overdo it. This will help soften the overall appearance of the skin, giving it a more polished look.
- Lower the opacity of the duplicate layer to maintain a natural look. It’s essential to find the right balance between smoothing the skin and keeping it realistic.
Brightening And Enhancing Eyes
- Create a new layer and name it “eye enhancement.”
- Zoom in on the eyes to work on the fine details accurately.
- Use the dodge tool set to highlights mode to brighten the whites of the eyes. Gently brush over the whites of the eyes to add a subtle glow and make them appear more vibrant.
- Switch to the burn tool set to shadows mode and carefully darken the areas around the iris. This technique helps enhance the contrast and make the eyes more captivating.
- Use the brush tool with a soft white brush to add highlights to the irises, giving them a sparkly and lively look.
- After making the necessary enhancements, adjust the opacity of the “eye enhancement” layer to ensure the changes blend well with the original image.
Whitening Teeth
- Begin by duplicating the background layer and renaming it “teeth whitening.”
- Select the teeth whitening tool from the toolbar and carefully apply it to the teeth. Be cautious not to over-whiten, as it can result in an unnatural appearance.
- Adjust the opacity of the “teeth whitening” layer to achieve a natural yet brighter smile.
- To further enhance the teeth, create a new layer and set the blending mode to overlay. Use a soft white brush to paint over the teeth gently, adding a subtle shine.
- If needed, use the smudge tool to refine any areas where the whitening may have affected the mouth or lips.
Remember, the aim is to enhance the natural beauty of the subject while maintaining a professional look. With these techniques, you can transform an average headshot into an eye-catching and polished photograph that leaves a lasting impression.
Color Correction And Tone Adjustment
Adjusting Color Balance And Temperature
When it comes to making a headshot look professional in photoshop, one crucial step is adjusting the color balance and temperature. By doing so, you can create a more visually appealing and high-quality image. Here are the key points to keep in mind:
- Color balance: Correcting the color balance involves ensuring that the image has the right distribution of colors. This can be done by tweaking the levels of red, green, and blue channels to achieve a natural and balanced look.
- Temperature: Adjusting the temperature allows you to control the overall warmth or coolness of the image. You can make the headshot appear more vibrant and inviting by adding warmth or create a cooler and more professional atmosphere by reducing it.
Enhancing Skin Tones
Skin tones play a significant role in making a headshot look professional and appealing. By enhancing the skin tones in photoshop, you can achieve a more polished result. Consider the following:
- Correcting imperfections: Use the healing and clone stamp tools to remove any blemishes, scars, or uneven skin tones. It’s important to maintain a natural look while eliminating distractions.
- Smoothing skin: Applying a subtle skin-smoothing effect can help give the headshot a clean and flawless appearance. Be mindful of not overdoing it, as too much smoothing can create an unnatural result.
- Adjusting skin color: If necessary, make slight adjustments to the skin color using selective color or hue/saturation adjustments. This can help balance any uneven tones and ensure the subject’s skin appears healthy and vibrant.
Improving Overall Image Contrast
To make a headshot truly stand out and look professional, it’s essential to enhance the overall contrast of the image. This can be achieved by following these steps:
- Adjusting black and white points: Use levels or curves adjustments to ensure that the darkest parts of the headshot are pure black and the lightest parts are pure white. This allows for a more dynamic and impactful look.
- Balancing highlights and shadows: Make sure that the highlights are not overexposed and that the shadows have enough detail. This will create dimension and depth in the headshot.
- Increasing clarity: Apply a subtle clarity enhancement to bring out the finer details in the image without making it appear overly sharp or unnatural.
Remember, every adjustment should be made with careful consideration for maintaining a natural and professional look. With these color correction and tone adjustment techniques, you’ll be able to transform a regular headshot into a stunning and professional image in photoshop.
Background Removal And Replacement
Removing distracting elements from the background:
- Use the clone stamp tool to copy and paste similar areas of the background over distracting elements. This tool helps in seamlessly removing objects from the background without leaving any trace.
- The content-aware fill feature can be used to automatically fill in the background where the distracting elements have been removed. It analyzes the surrounding areas and generates a new background that blends well with the rest of the image.
- Adjusting the brightness and contrast levels can further help in reducing the visibility of distractions in the background.
Selecting and isolating the subject:
- The quick selection tool allows for quick and easy selection of the subject. Simply drag the tool over the subject, and it will automatically detect and select the edges.
- Refine edge or masking can be used to fine-tune the selection by smoothing the edges and removing any unwanted areas.
- To remove any residual background from the subject, use the eraser tool or layer mask.
Adding a new background or creating a transparent background:
- To add a new background, open the desired image and drag it onto the headshot document. Resize and position the new background layer accordingly.
- To create a transparent background, select the subject using one of the methods mentioned earlier. Then, enable transparency by either deleting the background layer or using a layer mask with a black fill.
Final tips for a professional headshot:
- Ensure the new background complements the subject and enhances their overall appearance.
- Adjust the lighting and color balance to match the new background, making the final image look cohesive.
- Export the image in an appropriate format, such as png, to preserve transparency, or jpeg for a solid background.
Remember, the key to creating a professional headshot in photoshop lies in seamlessly removing distractions from the background, selecting and isolating the subject, and adding a suitable new background or creating a transparent one. With these techniques, you can elevate the overall look and make your headshot stand out.
Fine-Tuning And Detail Enhancement
In the world of professional headshots, the devil is in the details. To make your headshot truly stand out, you’ll need to fine-tune and enhance various aspects of the image. In this section, we’ll dive into the key areas where you can make significant improvements: sharpening facial features, removing stray hairs, and enhancing clothing and accessories.
Sharpening Facial Features
When it comes to headshots, the face is the focal point. Sharpening facial features can bring out the clarity and definition, helping you achieve that professional look. Here are some key points to consider:
- Use the high pass filter: Duplicate your image layer, apply the high pass filter, and set the blending mode to overlay. This technique enhances the sharpness of facial features without affecting the overall image.
- Adjust the clarity slider: In photoshop’s camera raw filter or lightroom, increase the clarity slider to enhance mid-tone contrast, making facial details pop.
- Target specific areas: With the help of the brush tool and a layer mask, you can selectively sharpen certain areas of the face, such as the eyes, nose, and lips, while leaving the rest untouched.
Removing Stray Hairs
Stray hairs can be distracting and take away from the professional look of a headshot. To ensure your image is flawless, follow these steps to remove stray hairs effectively:
- Zoom in and select the clone stamp tool: Zoom in on the areas with stray hairs and select the clone stamp tool. Adjust the brush size to match the thickness of the hair.
- Sample a nearby area: Hold the alt key (option key on mac) and click on a clean area of hair that closely matches the color and texture of the stray hair.
- Carefully paint over the stray hairs: With the clone stamp tool, carefully paint over the stray hairs, using short strokes to mimic the natural flow of hair. Adjust the brush opacity for a seamless blend.
Enhancing Clothing And Accessories
In a headshot, clothing and accessories play a crucial role in expressing your personal style and professionalism. Here’s how you can enhance them in photoshop:
- Adjust brightness and contrast: Use photoshop’s levels or curves adjustment layers to fine-tune the brightness and contrast of your clothing and accessories, ensuring they don’t overpower your face.
- Remove distractions: Utilize the spot healing brush or clone stamp tool to remove any distracting elements, such as wrinkles or loose threads.
- Enhance colors: Use photoshop’s hue/saturation adjustment layers to enhance or tweak the colors of your clothing and accessories, making them more vibrant and complementary to your overall headshot.
By following these techniques for fine-tuning and detail enhancement, you can ensure your headshot exudes professionalism and captures attention. Take the time to apply these adjustments, and you’ll be one step closer to achieving a headshot that stands out among the competition.
Adding Special Effects And Filters
Capturing a professional headshot is essential for creating a polished and eye-catching online presence. While a skillful photographer can achieve excellent results, sometimes the need arises to edit and enhance the headshot using software like photoshop. In this section, we will explore how to add special effects and filters to make your headshot stand out and convey the desired professional image.
Applying Creative Filters For A Unique Look
When it comes to adding special effects and filters to your headshot, photoshop offers a wide range of tools and options to explore. With these creative filters, you can transform your headshot into a unique and captivating image. Here are some key points to consider:
- Vintage effects: Transform your headshot into a timeless classic by applying vintage filters such as sepia or black and white. This can add a touch of elegance and nostalgia to your photo.
- Color adjustments: Experiment with color filters and adjustments to enhance the overall tone of your headshot. You can make your image warmer or cooler, emphasize certain colors, or create a specific mood by adjusting the saturation, hue, and brightness.
- Texture overlays: Add texture overlays to give your headshot a more artistic and tactile feel. Whether it’s a subtle film grain or a more pronounced grunge effect, textures can add depth and interest to your photo.
- Artistic brush strokes: Utilize photoshop’s brush tool to create artistic brush strokes on your headshot. This technique can give your photo a painterly effect, making it unique and visually striking.
Adding Artistic Effects
Artistic effects can add a touch of creativity and flair to your headshot, allowing you to showcase your personal style. Consider the following artistic effects to make your headshot more captivating:
- Gaussian blur: Apply a subtle gaussian blur to blur the background and draw focus to your face. This effect can create a sense of depth and highlight the subject of your headshot.
- Softening skin: Smooth out blemishes and fine lines by using the clone stamp tool or the healing brush tool. Be careful not to overdo it, as you want to maintain a natural look.
- Selective coloring: Make certain elements of your headshot pop by selectively coloring them while desaturating the rest of the image. This can draw attention to specific details, such as your eyes or lips.
Enhancing Depth And Dimension
To make your headshot appear more three-dimensional and lifelike, pay attention to the depth and dimension of the image. Here are some tips to enhance depth and dimension:
- Dodging and burning: Use the dodge and burn tools to selectively lighten and darken areas of your headshot. This technique can help create the illusion of depth and add dimension to your photo.
- Adding shadows: Add subtle shadows to your headshot to make it look more realistic and give it a sense of depth. Shadows can be created using the burn tool or through layer blending modes.
- Sharpening details: Enhance the fine details of your headshot by using the sharpen tool or applying a high-pass filter. This can make your photo appear crisper and more defined.
By experimenting with different special effects and filters in photoshop, you can take your headshot from ordinary to extraordinary. Remember to maintain a professional look while adding your personal touch. With the right techniques, your headshot will make a lasting impression and convey your professionalism to the world.
Frequently Asked Questions Of How To Make A Headshot Look Professional In Photoshop
How Can I Make My Headshot Look Professional In Photoshop?
To make your headshot look professional in photoshop, start by adjusting the brightness and contrast to enhance the overall look. Use the healing brush tool to remove any blemishes or imperfections. Next, play with the color balance and saturation to achieve the desired tone.
Finally, apply a subtle sharpening effect for a polished finish.
What Are Some Tips For Retouching A Headshot In Photoshop?
When retouching a headshot in photoshop, utilize the clone stamp tool to remove any distracting elements. Use the dodge and burn tools to enhance the lighting and shadows on the face. Employ the liquify filter for minor adjustments to the facial features.
Lastly, use the spot healing brush to smooth out any uneven skin tones.
How Can I Enhance The Background Of My Headshot In Photoshop?
To enhance the background of your headshot in photoshop, start by creating a duplicate layer of the original image. Apply a blur or gradient effect to the duplicated layer to create depth. Use the dodge and burn tools to adjust the lighting and shadows on the background.
Experiment with different adjustments to achieve the desired look
In the competitive world of today’s digital age, having a professional headshot is crucial for making a strong impression. With the help of photoshop, you can easily enhance and polish your headshot to achieve a more professional look. By following the techniques discussed in this blog post, you can make subtle adjustments to the brightness, contrast, and color balance of your headshot, resulting in a more appealing image.
Additionally, don’t forget to retouch any imperfections and apply subtle sharpening to bring out the details. Lastly, be mindful of the composition and ensure that your headshot aligns with the professional image you want to portray. Remember, in the online space, impressions matter, and a professional headshot can make all the difference in capturing attention and establishing credibility.
So, take the time to perfect your headshot using photoshop and reap the benefits of a more professional online presence.