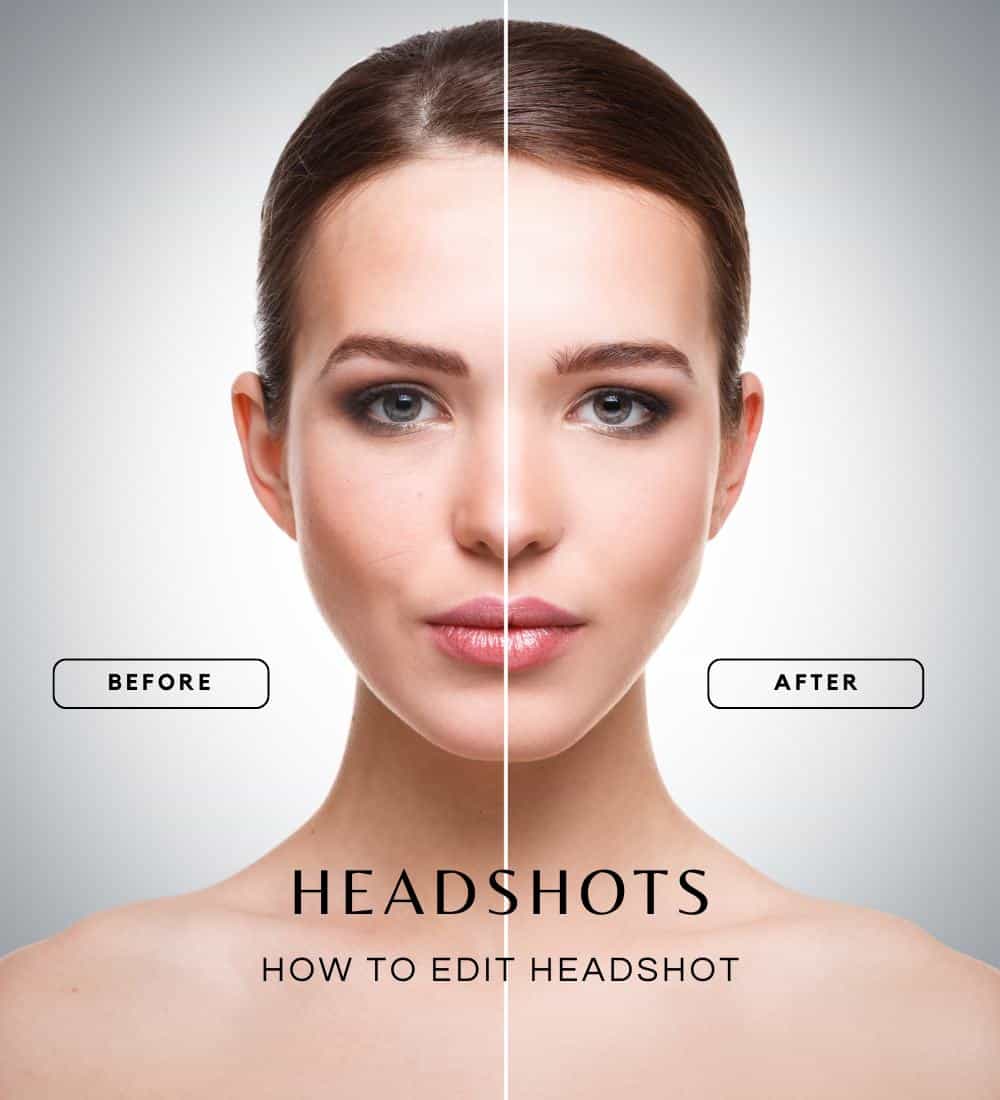
Are you ready to transform your headshots into stunning professional portraits? In this comprehensive guide, we will walk you through the process of how to edit headshot by using Photoshop. Follow these step-by-step instructions and unlock the potential of your portraits.
Headshots play a crucial role in various professional settings, whether it’s for job applications, social media profiles, or personal branding. With the power of Photoshop, you can elevate your headshots to a whole new level. In this blog post, we will cover the essential techniques and tools to help you edit headshots like a pro.
Step 1: Importing the Headshot

Begin by launching Photoshop and importing your headshot into the software. You can do this by navigating to “File” > “Open” and selecting the image from your computer. Ensure you have a high-resolution image to work with for optimal results.
Step 2: Adjusting Exposure and White Balance

To enhance the overall look of your headshot, it’s essential to fine-tune the exposure and white balance. Use the “Exposure” and “White Balance” adjustment tools in Photoshop to make the necessary adjustments. Ensure the subject’s skin tones look natural and well-balanced.
Step 3: Retouching Blemishes and Imperfections

Next, focus on retouching any blemishes or imperfections on the subject’s face. Utilize the “Spot Healing Brush” and “Clone Stamp Tool” to remove any unwanted spots, scars, or wrinkles. Be cautious not to overdo it; aim for a natural and subtle result.
Step 4: Enhancing Eyes and Teeth

The eyes and teeth are key focal points in a headshot. Make them shine by using Photoshop tools like the “Dodge” and “Burn” brushes to brighten the whites of the eyes and whiten the teeth. Carefully enhance these features to maintain a realistic appearance.
Step 5: Adjusting Colors and Tones

To give your headshot a unique style, experiment with adjusting colors and tones. Use the “Hue/Saturation” and “Curves” tools to fine-tune the overall color balance and contrast. Consider the mood you want to convey and make subtle adjustments accordingly.
To edit headshots in Photoshop, follow these quick steps:

- Open the headshot image in Photoshop: Launch Adobe Photoshop and go to “File” > “Open” to select and open the headshot image you want to edit.
- Duplicate the background layer: In the Layers panel, right-click on the Background layer and select “Duplicate Layer.” This step is important as it allows you to work non-destructively and preserve the original image.
- Perform basic adjustments: Use adjustment layers to make basic edits. For example, you can go to “Layer” > “New Adjustment Layer” and choose options such as “Brightness/Contrast,” “Levels,” or “Curves” to adjust the overall tone and contrast of the image.
- Retouch skin imperfections: Use the Spot Healing Brush tool or the Healing Brush tool to remove any blemishes, scars, or other skin imperfections. Set the brush size appropriately and click or paint over the areas you want to retouch.
- Enhance the eyes: Create a new layer, set the blending mode to “Overlay,” and name it “Eyes.” Use the Dodge and Burn tools to enhance the brightness and contrast of the eyes, making them more vibrant. Be careful not to overdo it.
- Whiten teeth: Create another new layer, set the blending mode to “Overlay,” and name it “Teeth.” Use the Dodge tool with a soft brush and lower the exposure to around 10-20%. Carefully paint over the teeth to lighten them, giving them a natural white appearance.
- Adjust colors selectively: To make selective color adjustments, create a new adjustment layer such as “Hue/Saturation” or “Selective Color.” This allows you to modify specific color ranges, such as adjusting the saturation of red tones or tweaking the overall color balance.
- Sharpen the image: To enhance the details and sharpen the headshot, go to “Filter” > “Sharpen” and choose options like “Smart Sharpen” or “Unsharp Mask.” Adjust the settings until you achieve the desired level of sharpness without introducing artifacts.
- Save and export: Once you’re satisfied with the edits, go to “File” > “Save” to save the changes as a Photoshop document (.psd) for future editing. If you want to share or use the image outside of Photoshop, go to “File” > “Export” > “Export As” to save it in a suitable format like JPEG or PNG.
Remember, these steps provide a general guideline, and the specific edits and adjustments may vary depending on the image and your preferences. Experiment with different tools and techniques to achieve the desired result.
FAQs
Q1: Can I edit headshots in Photoshop Elements or other software? Yes, while Photoshop offers extensive features, you can achieve basic headshot edits in other software like Photoshop Elements, GIMP, or Lightroom.
Q2: How can I avoid over-retouching the headshot? Exercise caution when retouching to maintain a natural appearance. Take breaks during the editing process and refer to the original image frequently to avoid going overboard.
Q3: Are there any specific Photoshop versions required for headshot editing? You can perform headshot edits using various Photoshop versions, including Photoshop CC, Photoshop CS6, or the latest Photoshop 2023.
Conclusion
Congratulations! You have learned the essential steps for editing a headshot using Photoshop. By following these techniques, you can transform your headshots into professional-grade