Post-production photo editing involves enhancing and refining digital images to achieve the desired final result. It plays a crucial role in elevating the visual appeal and quality of photographs, ensuring they meet the highest standards.
By adjusting factors like brightness, contrast, colors, and sharpness, and removing imperfections, photographers can create stunning visuals that captivate audiences and showcase their artistic vision. From basic adjustments to complex retouching techniques, post-production photo editing allows photographers to breathe life into their images and convey their intended message effectively.
Photos are powerful mediums for storytelling and communication, and post-production editing enhances their impact. This process requires skilled techniques, attention to detail, and a deep understanding of various editing tools and software. We will explore the importance of post-production editing in photography and discuss the key aspects that photographers consider when refining their images. Whether you’re a professional photographer or an enthusiast looking to improve your editing skills, this guide will provide valuable insights and practical tips to elevate your photos to the next level.

The Importance Of Post-Production Photo Editing

As a photographer, capturing stunning images is just the first step in the process. The real magic happens during post-production photo editing. This crucial stage allows you to transform your raw images into visually captivating masterpieces. Here, we will explore the importance of post-production photo editing and the key benefits it brings to your photography.
Enhance The Visual Appeal
- Fine-tune the colors: Adjusting the color balance, saturation, and contrast can breathe life into your images, making them more vibrant and eye-catching.
- Improve composition: Crop images to remove distractions and create a stronger focal point, ensuring your photos have a clear and impactful composition.
- Apply creative filters: Experiment with different filters and effects to achieve unique and artistic looks, adding a touch of personal style to your images.
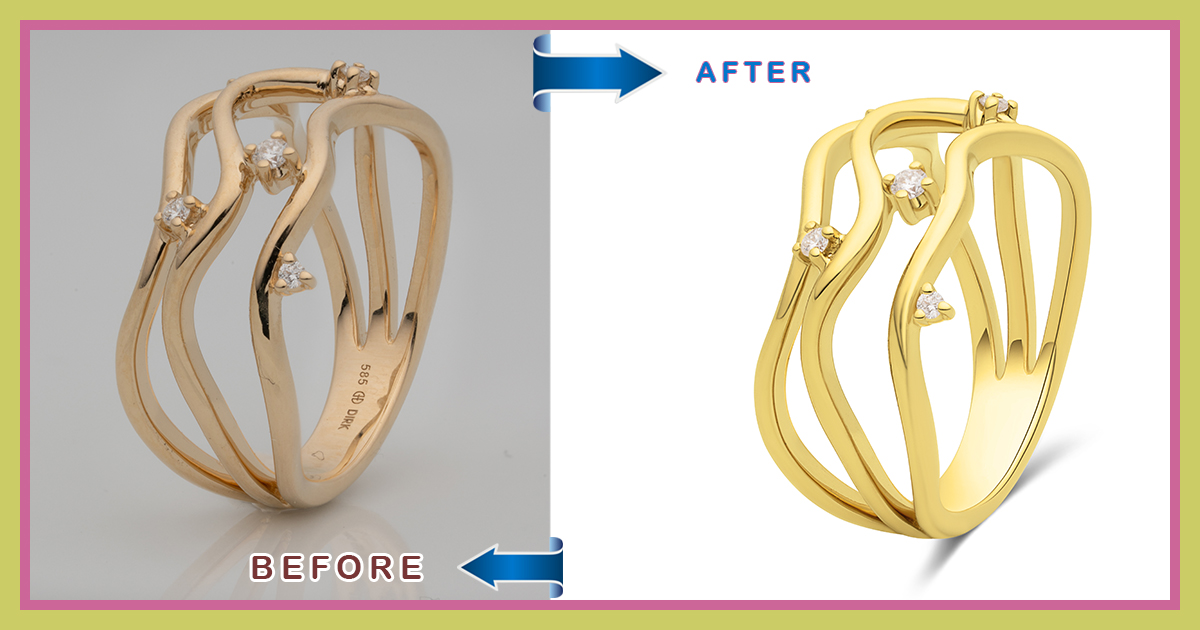
Correct Imperfections And Enhance Detail
- Fix exposure issues: Adjusting exposure levels can salvage poorly lit photos, recovering details lost in shadows or highlights.
- Reduce noise: Post-production editing allows you to remove unwanted graininess, resulting in cleaner and sharper images.
- Sharpen images: Enhance the details and clarity of your photos, showcasing the intricate textures and fine elements within.
Create A Consistent Style And Mood
- Establish a signature look: Through editing, you can define your own unique style, creating a cohesive visual identity for your photography.
- Maintain consistency: By applying similar editing techniques across your body of work, you establish a unified aesthetic that reinforces your brand and artistry.
- Set the mood: Adjusting the tone, contrast, and color grading can evoke specific emotions and set the atmosphere, enhancing the storytelling aspect of your images.
Post-production photo editing plays a pivotal role in elevating your photography to new heights. By enhancing the visual appeal, correcting imperfections, and creating a consistent style and mood, you can truly make your images stand out from the crowd. So, embrace the power of editing and unlock your photographs’ full potential.
Essential Tools For Post-Production Photo Editing

In the world of post-production photo editing, having the right tools is essential for producing stunning, captivating images. Whether you’re a professional photographer or an aspiring enthusiast, these tools can take your editing skills to the next level. In this section, we’ll explore three of the top tools that are widely used and highly recommended by photographers and editors alike: adobe photoshop, lightroom, and capture one.
Let’s delve into what makes each of these tools so indispensable.
Adobe Photoshop
- Versatility: Adobe photoshop is the go-to software for detailed and intricate editing. It offers a wide range of tools and features that allow users to retouch images, remove unwanted elements, and manipulate photos to achieve their desired results.
- Enhanced control: With photoshop, photographers have precise control over every aspect of their image. From adjusting exposure and colors to fine-tuning details and applying intricate effects, there are endless possibilities to explore.
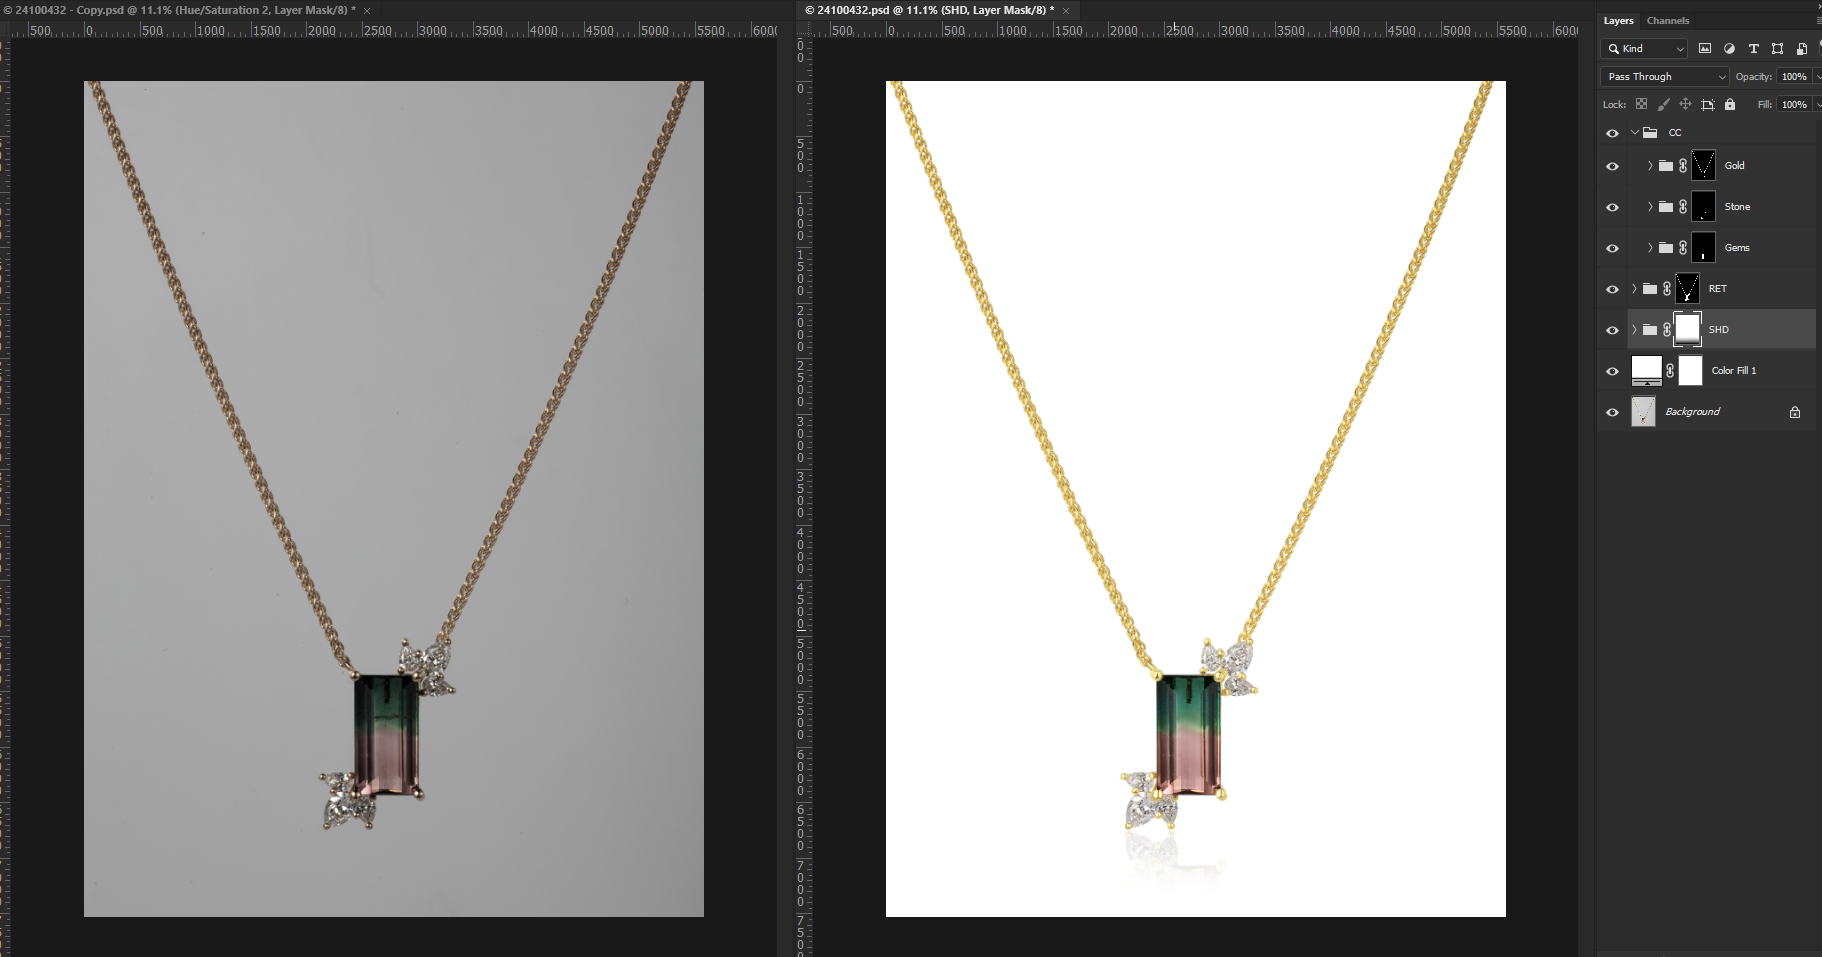
- Layers and masks: One of the most powerful features of photoshop is its ability to work with layers and masks, enabling photographers to make selective edits and alterations without affecting the entire image. This level of control and flexibility is unmatched.
Lightroom
- Efficient workflow: Lightroom is renowned for its seamless and efficient workflow, making it a favorite among photographers. Its organizational tools allow for easy management and sorting of large photo collections, while its non-destructive editing capabilities ensure that the original image remains untouched.
- Image presets: Lightroom offers a vast array of presets that can be applied to photos with just a single click. These presets provide photographers with instant creative options, saving time and streamlining the editing process.
- Tone and color adjustments: With Lightroom, photographers can effortlessly adjust tones and colors to achieve the desired mood and atmosphere in their images. From basic exposure adjustments to advanced color grading, lightroom provides all the necessary tools for enhancing the visual impact of a photo.
Capture One
- Superb image quality: Capture one is renowned for its exceptional image quality and color rendering abilities. Its powerful raw image processing engine ensures that the fine details and nuances within an image are preserved and enhanced.
- Precise color editing: Capture One offers advanced color editing tools with incredible precision. Photographers can manipulate individual colors, create custom color profiles, and achieve accurate skin tones, making it an ideal choice for fashion, portrait, and product photography.
- Tethered shooting: Tethered shooting is a feature that sets capture one apart. It allows photographers to connect their cameras directly to the software, providing real-time image viewing, instant feedback, and complete control over the shooting process.
Each of these tools brings its own unique set of features and capabilities to the table. Whether you prefer the versatility of Adobe Photoshop, the workflow efficiency of Lightroom, or the superior image quality of Capture One, having these tools at your disposal will undoubtedly elevate your post-production photo editing skills.
Experiment, explore, and let your creativity shine through these essential tools.
Understanding The Basics Of Post-Production Photo Editing

Post-production photo editing is a crucial step in enhancing the quality and visual appeal of your photographs. By making adjustments to exposure, contrast, colors, sharpening, and noise reduction, you can transform ordinary images into stunning works of art. In this section, we will explore the basics of post-production photo editing and discuss some key techniques to help you achieve the desired results.
Exploring The Histogram
- The histogram is a graphical representation of the distribution of tonal values in an image.
- It provides valuable information about the exposure and contrast of your photo.
- Understanding the histogram can help you identify overexposed or underexposed areas in your image.
- By analyzing the histogram, you can make informed decisions about how to adjust the exposure and contrast to improve the overall tonal range.
Adjusting Exposure And Contrast
- Exposure refers to the amount of light captured by the camera sensor. Adjusting the exposure can make your image brighter or darker.
- Contrast, on the other hand, determines the difference between the lightest and darkest areas of your photo.
- Increasing the exposure can brighten the image and reveal more details in the shadows, while decreasing the exposure can darken the image and bring out highlights.
- Adjusting the contrast can enhance the dynamic range and make your image visually more appealing.
- Use exposure and contrast adjustments to achieve the desired tonal range and balance in your photo.
Fine-Tuning Colors
- Colors play a vital role in conveying the mood and atmosphere of your photographs.
- Post-production editing allows you to manipulate the colors to create a specific visual effect.
- You can adjust the white balance to correct any color casts in your photo.
- Saturation adjustments can make your colors more vibrant or muted, depending on the desired outcome.
- Hues can be modified to create unique color tones.
- Experiment with color adjustments to enhance the overall impact of your images.
Sharpening And Noise Reduction
- Sharpening helps to enhance the details and clarity in your photo.
- However, over-sharpening can result in unnatural-looking images.
- Noise reduction techniques can minimize the graininess, or noise, that may appear in your photos, particularly in low-light situations.
- Finding the right balance between sharpening and noise reduction is essential to maintain a natural and professional appearance.
- Apply these adjustments judiciously to achieve optimal results.
Understanding the basics of post-production photo editing is essential for creating visually appealing and captivating images. By exploring the histogram, adjusting exposure and contrast, fine-tuning colors, and applying sharpening and noise reduction techniques, you can bring out the true potential of your photographs.
Experiment with different settings and enjoy the process of transforming your images into stunning works of art.
Advanced Techniques In Post-Production Photo Editing
In the world of photography, taking a great shot is just the beginning. The real magic happens during the post-production phase, where photos can be enhanced, corrected, and transformed to achieve the desired look and feel. Advanced techniques in post-production photo editing can take your images to the next level, giving them that professional touch.
In this section, we will explore three key techniques that can elevate your photos: dodging and burning, frequency separation for skin retouching, and creating selective focus with depth of field. We will also touch upon the art of adding creative filters and effects.
Let’s dive in!
Dodging And Burning
One of the oldest and most powerful techniques in photo editing is dodging and burning. It involves selectively lightening and darkening specific areas of an image to enhance highlights and shadows. Here are some key points to keep in mind:
- Dodging adds brightness and brings out details in the desired areas.
- Burning adds depth and intensity, emphasizing shadows and creating a moody atmosphere.
- This technique is often used to enhance portraits, landscapes, and architectural shots.
- Use a soft brush with low opacity to achieve subtle and natural-looking results.
- Experiment with different blending modes to achieve the desired effect.
Frequency Separation For Skin Retouching
When it comes to portrait photography, achieving flawless skin is a top priority. Frequency separation is a powerful technique for skin retouching, allowing you to remove imperfections while preserving the natural texture. Here’s what you need to know:
- Frequency separation separates the texture (high frequency) from the color and tone (low frequency) of the skin.
- The texture layer can be retouched to eliminate blemishes, wrinkles, and other imperfections.
- The color and tone layer can be adjusted to even out skin tones and enhance natural-looking skin.
- Use a low opacity brush for retouching, building up the changes gradually for a seamless result.
- Be mindful of not overusing this technique, as it can lead to an unrealistic and plastic appearance.
Creating Selective Focus With Depth Of Field
Selective focus allows you to draw attention to specific areas of your photo by controlling the depth of field. It can be done both in-camera and during post-production. Here’s how you can achieve this effect:
- Start by analyzing the image and deciding which areas should be in focus and which should be blurred.
- Use a combination of techniques such as the lens blur filter, the depth map tool, or the field blur filter in editing software.
- Adjust the blur intensity and transition to achieve a natural and pleasing effect.
- Experiment with different shapes of bokeh to add a creative touch to your photos.
- Keep in mind that selective focus should enhance the composition and storytelling of your image, so use it wisely.
Adding Creative Filters And Effects
While photo editing is mostly about enhancing the natural beauty of an image, sometimes you may want to go beyond realism and add a creative flair. Here are some ways to do so:
- Experiment with vintage filters to give your photos a nostalgic look.
- Play with color grading to create a specific mood or atmosphere.
- Explore artistic effects such as black and white conversions, surreal overlays, or painterly textures.
- Use vignettes and light leaks to add drama and depth.
- Remember to balance creativity with subtlety, ensuring that the added effects enhance your photo rather than overpower it.
Mastering advanced techniques in post-production photo editing opens up a world of possibilities for transforming your images. Whether it’s enhancing details, retouching portraits, creating selective focus, or adding creative filters, these techniques can take your photography to new heights. So grab your editing software and let your creativity shine through!
Optimizing Workflow For Efficient Post-Production Photo Editing
When it comes to post-production photo editing, optimizing your workflow is essential for efficiency and productivity. By implementing a streamlined process, you can save time and ensure consistency in your edits. Let’s explore some key techniques to enhance your workflow in post-production photo editing.
Organizing And Importing Images
- Start by creating a well-organized folder structure on your computer to store your images. This will make it easier to locate and access files when needed.
- Use descriptive file names or rename files upon import to provide a clear indication of the photo subjects or events.
- Take advantage of software tools like Adobe Lightroom or Capture One, which allow you to import images and automatically organize them into appropriate folders.
- Assign relevant keywords and tags to your images during the importing process to facilitate quick searching later on.
Utilizing Presets And Batch Editing
- Presets are pre-defined sets of adjustments that can be applied to multiple images simultaneously. They serve as an excellent starting point for stylizing and enhancing your photos.
- Create and save your own custom presets based on your preferred editing styles. This will enable you to quickly apply consistent adjustments to a batch of images with just a few clicks.
- Experiment with different preset combinations to achieve your desired look and feel for various photography genres.
- Batch editing allows you to apply the same adjustments to a group of selected images. This is particularly useful when you have a series of photos taken under similar lighting and conditions.
Streamlining The Editing Process With Keyboard Shortcuts
- Keyboard shortcuts are your best friends while editing photos. They enable you to navigate through your editing software swiftly and execute various commands without wasting precious time on manual clicks.
- Familiarize yourself with commonly used shortcuts in your editing software. For instance, in adobe photoshop, pressing “b” activates the brush tool, while pressing “ctrl+z” undoes the previous action.
- Customize keyboard shortcuts based on your preferences and workflow. This allows you to access frequently used tools or commands with ease.
- Practice using keyboard shortcuts regularly to increase your editing speed and efficiency.
Exporting And Saving Files In Different Formats
- When exporting your final edited images, consider the platforms where you intend to showcase them. Different platforms require different file formats and specifications.
- Jpeg is a commonly used format for web display and social media, offering a good balance between image quality and file size.
- If you need to preserve maximum image quality, opt for lossless formats like tiff or png. These formats are ideal for printing or when further editing might be required.
- Save your exported files in a separate folder with clear naming conventions to avoid confusion and enable easy retrieval.
By implementing these strategies, you can optimize your workflow for efficient post-production photo editing. Organizing and importing images, utilizing presets and batch editing, streamlining the process with keyboard shortcuts, and saving files in the appropriate formats will significantly enhance your productivity in the editing phase.
Embrace these techniques and watch your editing efficiency soar.
Leveraging Plugins And Third-Party Software For Post-Production Photo Editing
Post-Production Photo Editing
In the world of photography, post-production photo editing plays a crucial role in transforming raw images into stunning, polished works of art. As technology continues to advance, photographers have more options at their disposal to enhance and manipulate their images.
One of the key strategies in post-production editing is leveraging plugins and third-party software. Let’s explore how these tools can take your photo editing to the next level.
Top Plugins For Photoshop And Lightroom
- Nik collection: This plugin offers a wide range of creative options, from precise color correction to stunning black and white conversions. Its extensive collection of filters and effects allows photographers to add unique touches to their images effortlessly.
- Alien skin exposure: With its film emulation capabilities, this plugin provides photographers with a way to recreate the classic look of different film types. It offers a vast array of presets that can be customized to give images a vintage or artistic feel.
- Vsco: Known for its popular mobile app, vsco also offers a plugin for adobe photoshop and lightroom. It provides photographers with a variety of film-inspired presets and powerful editing tools to create visually striking images.
- Luminar: This all-in-one photo editing software is packed with features, including ai-powered filters and advanced image enhancement tools. Luminar simplifies complex editing tasks, making it a valuable asset in any photographer’s toolkit.
Utilizing Ai-Powered Editing Tools
- Object removal: Ai-powered editing tools can intelligently remove unwanted objects or distractions from images, saving photographers significant time and effort.
- Portrait enhancements: Facial recognition technology enables ai-powered editing tools to automatically enhance portraits by seamlessly retouching skin, enhancing eyes, and even modifying facial features.
- Sky replacement: Changing the sky in an image has never been easier. Ai-powered editing tools can accurately detect and replace skies with just a few clicks, instantly transforming the mood and atmosphere of a photo.
- Automated editing: These tools can analyze a photo and automatically apply adjustments, such as exposure corrections, color grading, and noise reduction, allowing photographers to achieve consistent results quickly.
Exploring Photo Editing Mobile Apps
In recent years, mobile photography has seen significant growth, thanks to the development of powerful photo editing apps. These apps provide photographers with the flexibility to capture and edit images on the go. Here are some noteworthy photo editing mobile apps:
- Adobe lightroom mobile: As a companion to the desktop version, this app offers powerful editing capabilities and seamless synchronization with the cloud. It allows photographers to edit and organize their photos anytime, anywhere.
- Snapseed: Developed by google, snapseed offers a comprehensive set of tools for editing images on mobile devices. Its user-friendly interface and advanced features make it a popular choice among photographers of all skill levels.
- Vsco: With a wide range of preset filters and editing tools, vsco has become a favorite among mobile photographers. Its minimalist design and intuitive interface make it easy to create stunning images with just a few taps.
- Afterlight: This app offers a variety of filters, textures, and adjustment tools to enhance and stylize your photos. Its user-friendly interface and extensive editing options make it a versatile tool for mobile photo editing.
Plugins and third-party software, ai-powered editing tools, and photo editing mobile apps provide photographers with a wealth of options to elevate their post-production photo editing. Experimenting with different tools and techniques will help unleash your creativity and achieve the desired visual impact in your images.
So, embrace these tools and take your photo editing skills to new heights!
Tips And Tricks For Stunning Post-Production Photo Editing
Editing photos in post-production is an essential step in achieving stunning visuals. With the right techniques and tools, you can enhance your images, correct imperfections, and create a visually captivating final product. In this section, we will explore some valuable tips and tricks that will take your post-production photo editing to the next level.
Working With Layers And Masks
- Layers and masks are powerful features in photo editing software that allow you to make non-destructive edits and achieve greater control over your images. Here are some key points to keep in mind:
- Use layers to work on specific elements of the image without impacting the entire composition. This enables you to make adjustments such as brightness, contrast, and color on specific areas.
- Masks help you selectively apply edits to specific parts of the image. By using brushes and gradients, you can control the opacity and visibility of your adjustments, blending them seamlessly with the original image.
Utilizing Adjustment Layers For Non-Destructive Editing
- Adjustment layers provide a non-destructive way of making edits to your photos. Here’s what you need to know:
- Adjustment layers allow you to modify the overall appearance of your image without directly affecting the image pixels. This means you can always go back and tweak your adjustments later.
- Some commonly used adjustment layers include brightness/contrast, levels, curves, hue/saturation, and color balance. Experimenting with different adjustments can greatly enhance the visual impact of your photos.
Harnessing The Power Of Cloning And Healing Tools
- The cloning and healing tools are essential for removing blemishes, distractions, or unwanted elements from your images. Consider the following:
- Cloning tool: It allows you to duplicate a specific part of your image and paste it over another area. This is useful for removing objects or imperfections that you wish to eradicate.
- Healing tool: It works by sampling the surrounding pixels and automatically blending them to seamlessly repair imperfections such as dust spots, scratches, or wrinkles. This tool helps you achieve a flawless result while maintaining the original texture and details.
Exploring Advanced Selection Techniques
- Mastering selection techniques can significantly enhance your photo editing workflow. Here are some advanced methods worth exploring:
- Quick selection: Use this tool to make a rough selection around the subject you want to isolate. Refine the selection using the refine edge feature for more accurate results.
- Pen tool: Ideal for creating precise paths and selections, especially when dealing with complex subjects or objects with intricate details.
- Layer masks: Combine selection tools with layer masks to achieve precise adjustments and targeted edits within specific areas of your image.
By strategically implementing these tips and tricks, you can transform your post-production photo editing process into an artistic and creative endeavor. Experiment, explore, and let your imagination guide you as you create stunning visuals that captivate your audience.
Showcasing Your Edited Photos: Printing And Sharing
Post-Production Photo Editing
In the world of photography, post-production photo editing is an essential step in bringing your images to life. Once you have finished editing your photos, it’s time to showcase your work to the world. This section will focus on how to print and share your edited photos effectively.
Preparing Images For Print
When preparing images for print, there are a few key points to consider:
- Resolution: Ensure that your image has a high enough resolution for print, typically around 300 dpi (dots per inch).
- Color profile: Convert your image to the appropriate color profile, such as cmyk, to ensure accurate color reproduction on print.
- Cropping and resizing: Adjust the composition and size of your image to fit your desired print dimensions.
Optimizing Images For Social Media
Sharing your edited photos on social media platforms requires some optimization. Here are a few tips to consider:
- Aspect ratio: Resize your image to fit the desired aspect ratio for the platform you’re posting on (e.g., 1:1 for instagram).
- File size: Compress your image to a smaller file size without compromising image quality, as large file sizes can impact loading times.
- Captions and hashtags: Craft engaging captions and use relevant hashtags to maximize reach and engagement.
Choosing The Right File Format For Different Platforms
Different platforms have varying file format preferences. Consider the following when choosing the right file format:
- Jpeg: Ideal for online sharing due to its small file size and broad compatibility. However, it may result in a slight loss of image quality due to compression.
- Png: Best suited for images with transparent backgrounds or when image quality preservation is crucial. Keep in mind that png files are larger in size.
- Tiff: Preferred for print purposes as it preserves all the details and colors without compression. However, tiff files are larger in size and may not be supported on all platforms.
Protecting Your Creative Work With Watermarks Or Copyright
As a photographer, it’s important to protect your creative work from unauthorized use. Consider the following methods:
- Watermarks: Add a visible watermark to your images, which can significantly deter others from using them without permission. Ensure the watermark doesn’t distract from the overall image.
- Copyright notices: Embed copyright information into your image’s metadata, making it clear that your work is protected by copyright laws.
- Legal protection: Familiarize yourself with copyright laws in your jurisdiction, and if necessary, register your work to have legal grounds for action in case of infringement.
By following these tips for printing and sharing your edited photos, you can showcase your creativity and protect your work while ensuring optimal presentation across different platforms. Keep these considerations in mind to make the most out of your photography journey.
Happy sharing!
The Evolution Of Post-Production Photo Editing: Trends And Innovations
Post-production photo editing has come a long way over the years, thanks to advancements in technology and creative innovations. In this section, we will explore some of the latest trends and innovations that have shaped the landscape of photo editing.
From ai-driven editing to the rise of nfts in the photography industry, these developments have revolutionized the way photographers enhance and share their work.
Ai-Driven Editing And Auto-Enhancement
Ai-driven editing tools have rapidly gained popularity among photographers, offering powerful features that streamline the post-production process. Here are some key points to consider:
- Advanced algorithms: Ai-powered editing software utilizes sophisticated algorithms to analyze images, automatically identifying areas that require enhancement.
- Auto-enhancement features: With just a few clicks, photographers can now achieve professional-looking results, thanks to ai-assisted auto-enhancement features. These features intelligently adjust brightness, contrast, color balance, and other parameters to enhance the overall image quality.
- Instant retouching: Ai algorithms can automatically detect and remove imperfections like blemishes or red-eye, saving photographers valuable time in the editing process.
- Customizable presets: Ai-driven editing tools often come with a wide range of customizable presets that allow photographers to achieve a consistent style across their images.
Mobile Editing Revolution
As smartphones continue to improve their camera capabilities, mobile editing has become increasingly popular. Here’s what you need to know about this revolution:
- On-the-go editing: Mobile editing apps provide photographers with the flexibility to edit their images anytime and anywhere. Whether you’re on a trip or simply capturing a moment, you can quickly enhance your photos directly from your smartphone.
- User-friendly interfaces: Mobile editing apps are designed with user-friendliness in mind, making it easy for both amateur and professional photographers to navigate and make adjustments effortlessly.
- Social sharing integration: Mobile editing apps often integrate seamlessly with social media platforms, allowing photographers to share their edited images instantly with their audience. This integration has revolutionized the way photographers showcase their work and connect with their followers.
The Rise Of Nfts In The Photography Industry
Non-fungible tokens (nfts) have recently made headlines in the art world, and the photography industry is no exception. Consider the following points:
- Unique digital ownership: Nfts enable photographers to sell their work as unique digital assets, proving ownership and authenticity in the digital realm.
- New revenue streams: With nfts, photographers can tap into new revenue streams by selling limited edition prints or licensing their work directly to buyers.
- Increased exposure: Nft marketplaces provide an opportunity for photographers to gain global exposure and connect with collectors and art enthusiasts who are actively seeking unique digital artwork.
- Copyright protection: Nfts can serve as a way to protect photographers’ copyright, as ownership records are stored on the blockchain, providing a transparent and immutable proof of ownership.
As technology continues to advance and creativity flourishes, the world of post-production photo editing will continue to evolve, offering photographers exciting new possibilities for enhancing, sharing, and monetizing their work. Whether it’s leveraging ai-driven editing tools, embracing mobile editing convenience, or exploring the potential of nfts, photographers can take advantage of these trends and innovations to elevate their artistry and reach new heights.
Frequently Asked Questions Of Post-Production Photo Editing
How Can Photo Editing Enhance The Overall Quality Of My Images?
Photo editing can improve the quality of your images by adjusting exposure, color balance, and sharpness. It can also remove blemishes, correct red-eye, and enhance details. With editing, you can transform a good image into a stunning one, making it more visually appealing and professional-looking.
What Are The Benefits Of Outsourcing Post-Production Photo Editing?
Outsourcing photo editing saves you time and effort, allowing you to focus on capturing more photos or growing your business. It also ensures consistent and high-quality results, as professional editors have the expertise and tools to enhance your images effectively.
Outsourcing can also be cost-effective compared to hiring an in-house editor.
What Photo Editing Techniques Can Be Used To Make Portraits More Stunning?
To make portraits more stunning, you can use various photo editing techniques such as skin retouching, teeth whitening, and removing imperfections. You can also enhance the eyes by brightening them or adding a sparkle effect. Adjusting the color tones and lighting can also give portraits a more flattering and dramatic look.
Conclusion
Post-production photo editing is a crucial step in the photography process. By enhancing colors, adjusting lighting, and removing imperfections, photo editing allows photographers to bring out the full potential of their images. Editing tools such as photoshop and lightroom provide a wide range of options to transform ordinary pictures into extraordinary works of art.
When done correctly, these edits can significantly improve the overall quality and appeal of photographs. Whether you’re a professional photographer or just an amateur enthusiast, learning the art of photo editing is essential for creating visually stunning images. With practice, patience, and a keen eye for detail, you can master the techniques of post-production editing and take your photography skills to the next level.
So, don’t overlook the power of editing when it comes to creating captivating and impactful photographs. Embrace the world of post-production photo editing and unlock the true potential of your images.